
I’m not sure why pistachio recipes aren’t more popular. I love easy pistachio desserts like these Pistachio Dream Bars and yummy Pistachio Watergate Salad!
Pistachios are my go to snack, YUM! They are so good and actually taste amazing and fresh in a dessert.
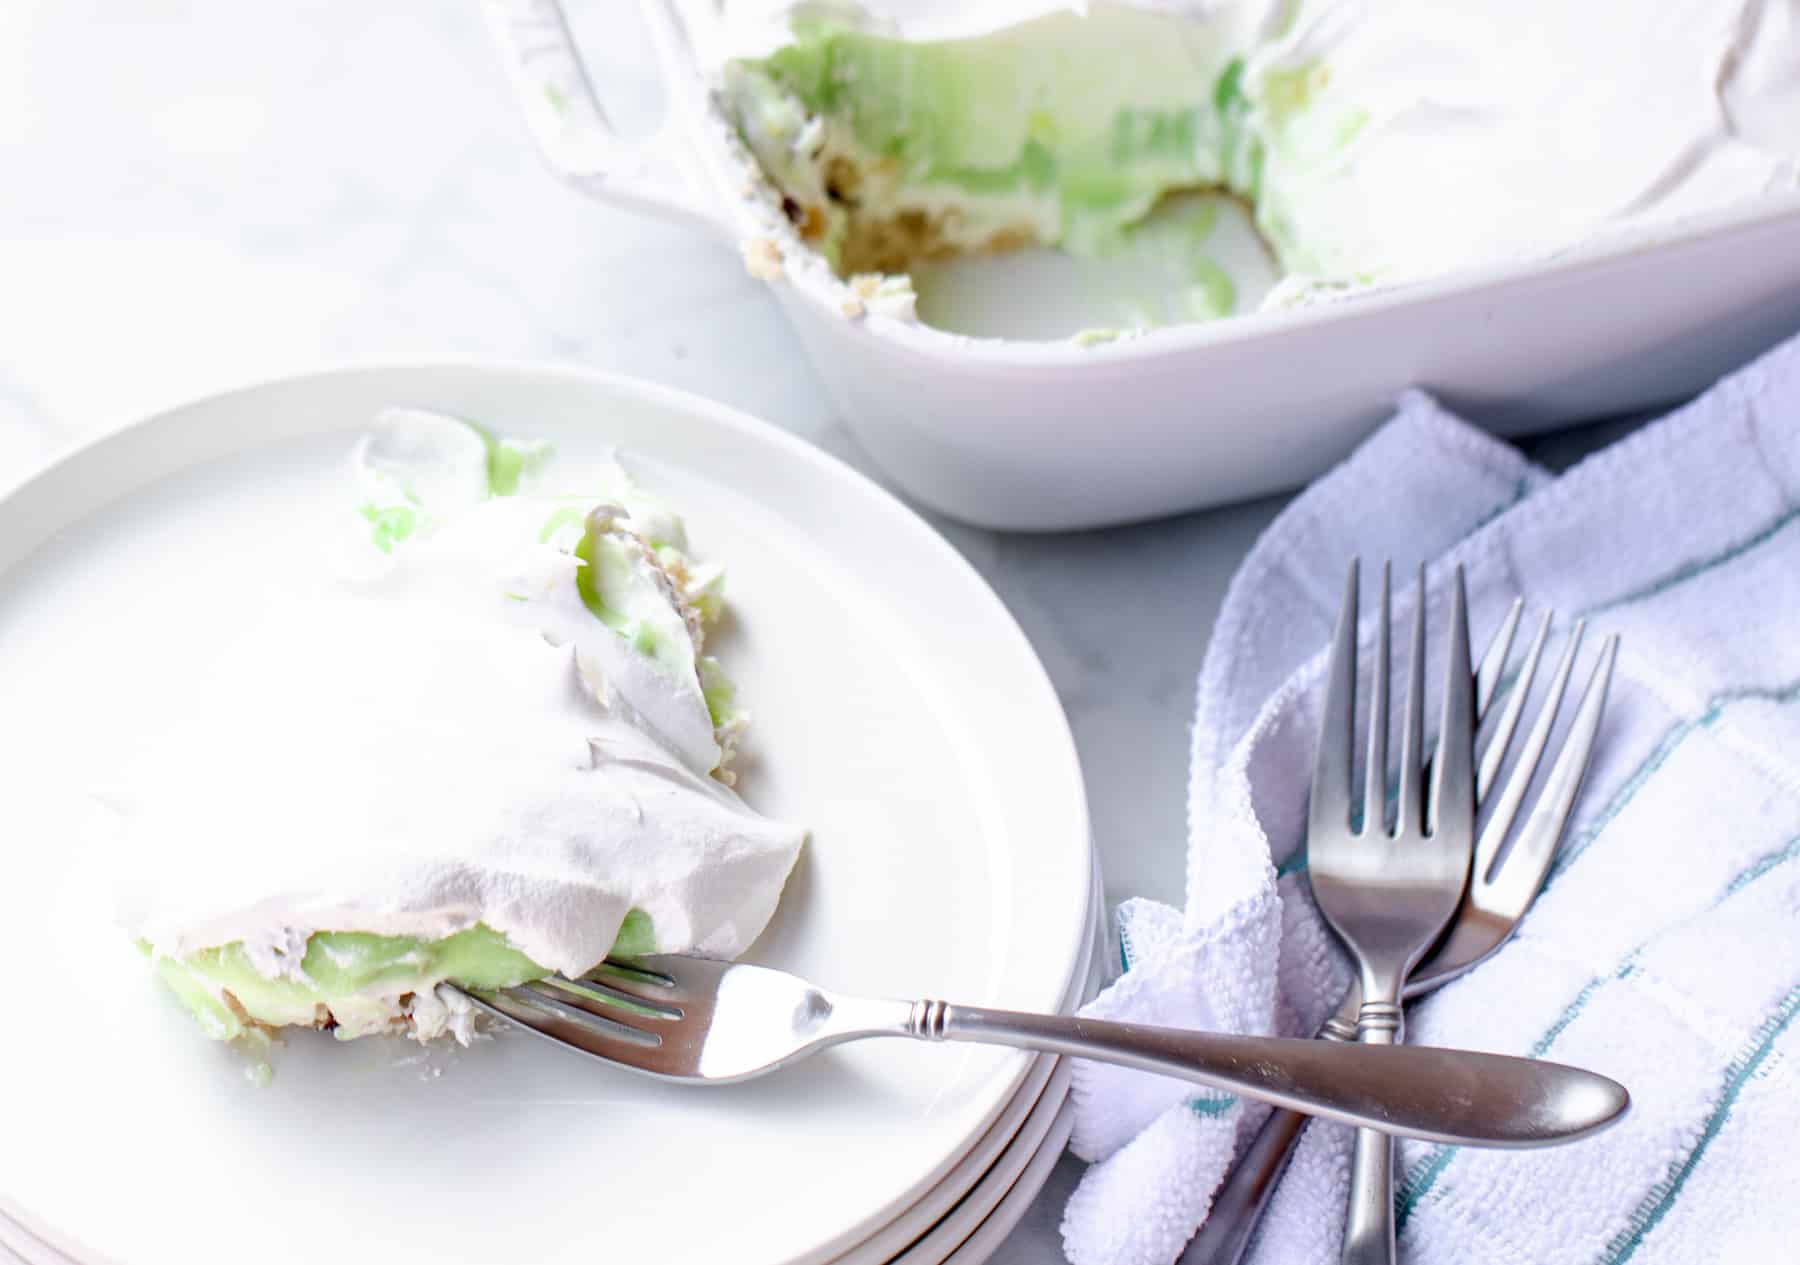
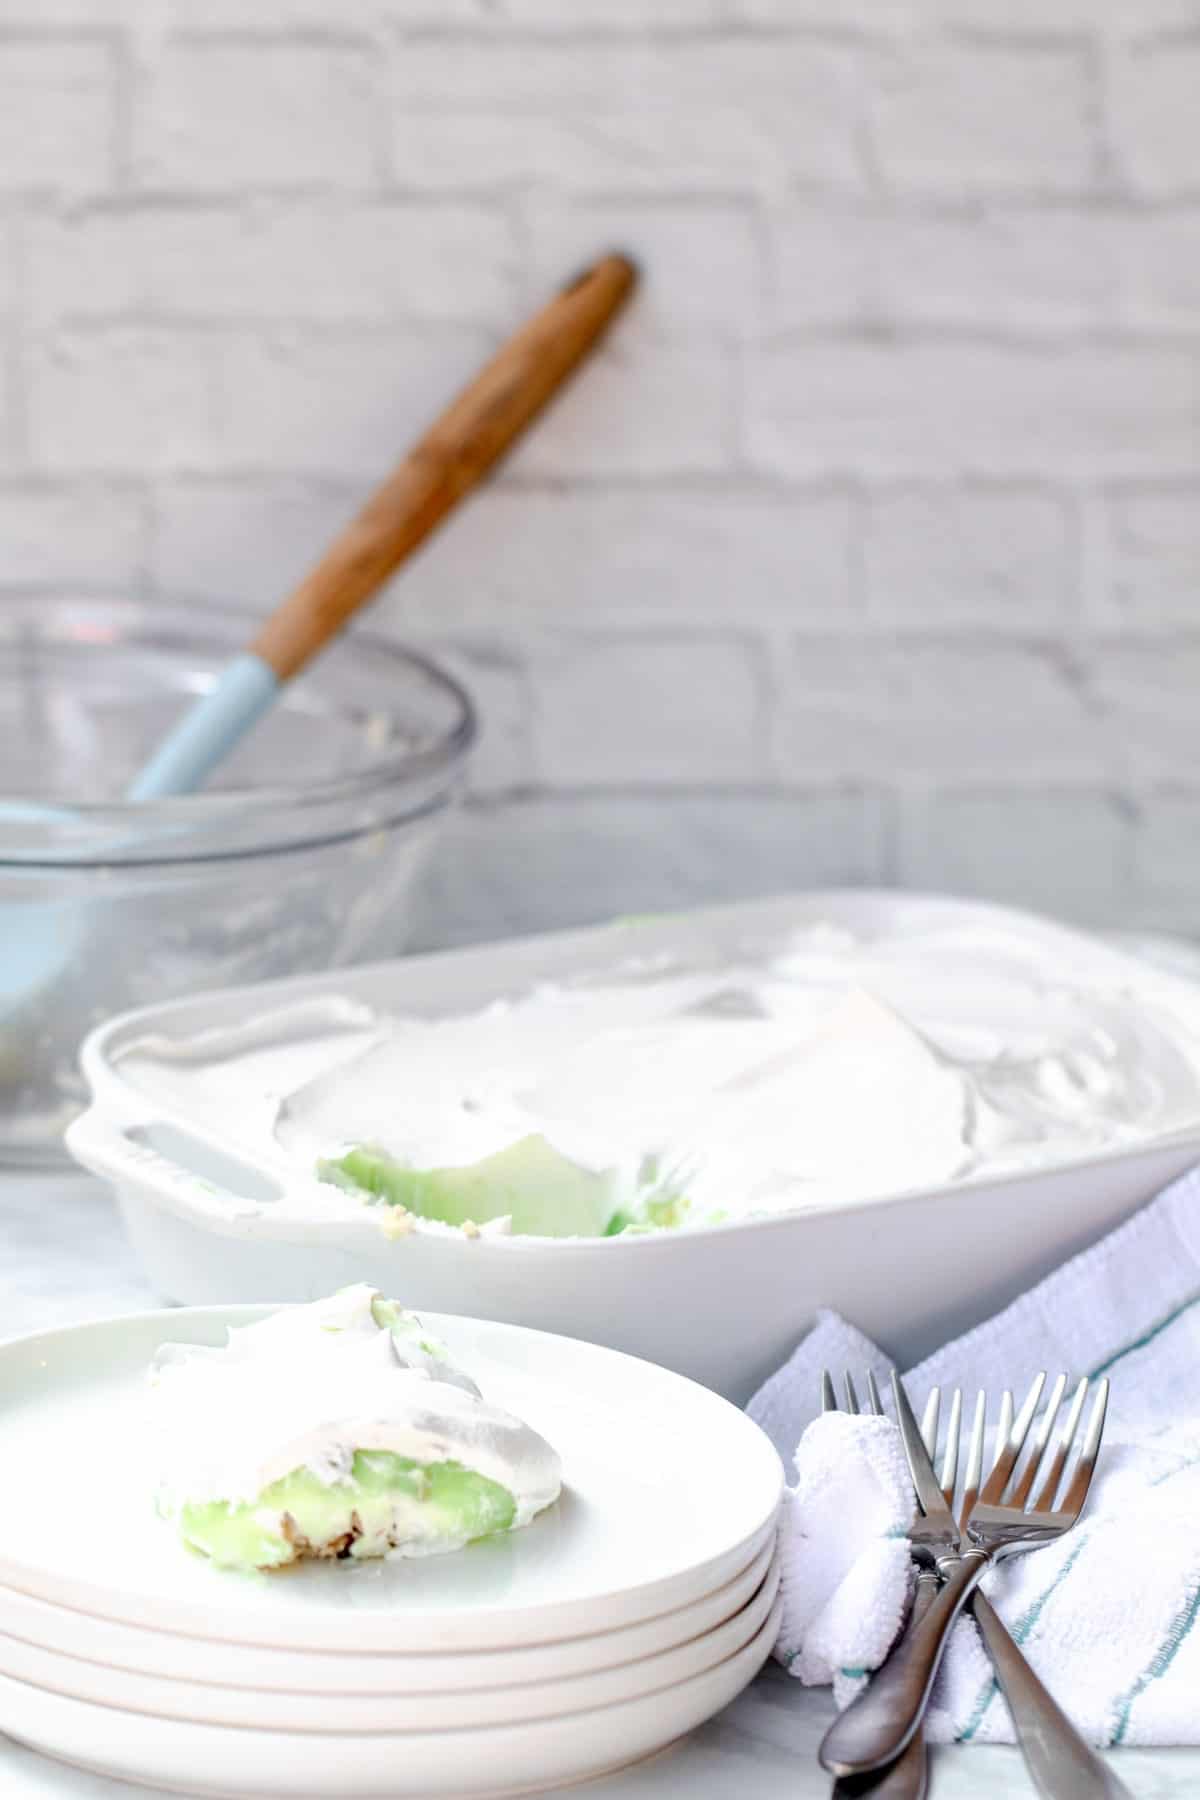
I like making these dream bars for the family on the weekend, backyard barbecue, or get together. Everyone always goes crazy for them, especially the crust.
These Pistachio Bars Can Be Made in Advance
Make these Pistachio Bars in advance if you are busy and need to host a party or BBQ. I’m a super busy mom and live for desserts like this you guys.
Something easy that you can basically throw together and tastes amazing.
They can be made the night before and thrown in the refrigerator for a pretty and yummy dessert the next day.
I wouldn’t make them more than 24 hours in advance.
Keep leftovers for later
You can store leftovers in the fridge to enjoy the next few days. I wouldn’t freeze this dessert.
Honestly, we hardly ever have leftovers of these dream bars. They are just so good. But, it is a nice treat when we do!
What’s in this Pistachio Dessert recipe?
You really won’t need a whole lot to throw this pistachio dessert together. Just a few ingredients that I actually found in my fridge and pantry and you’ve got yourself some Pistachio Dream Bars!
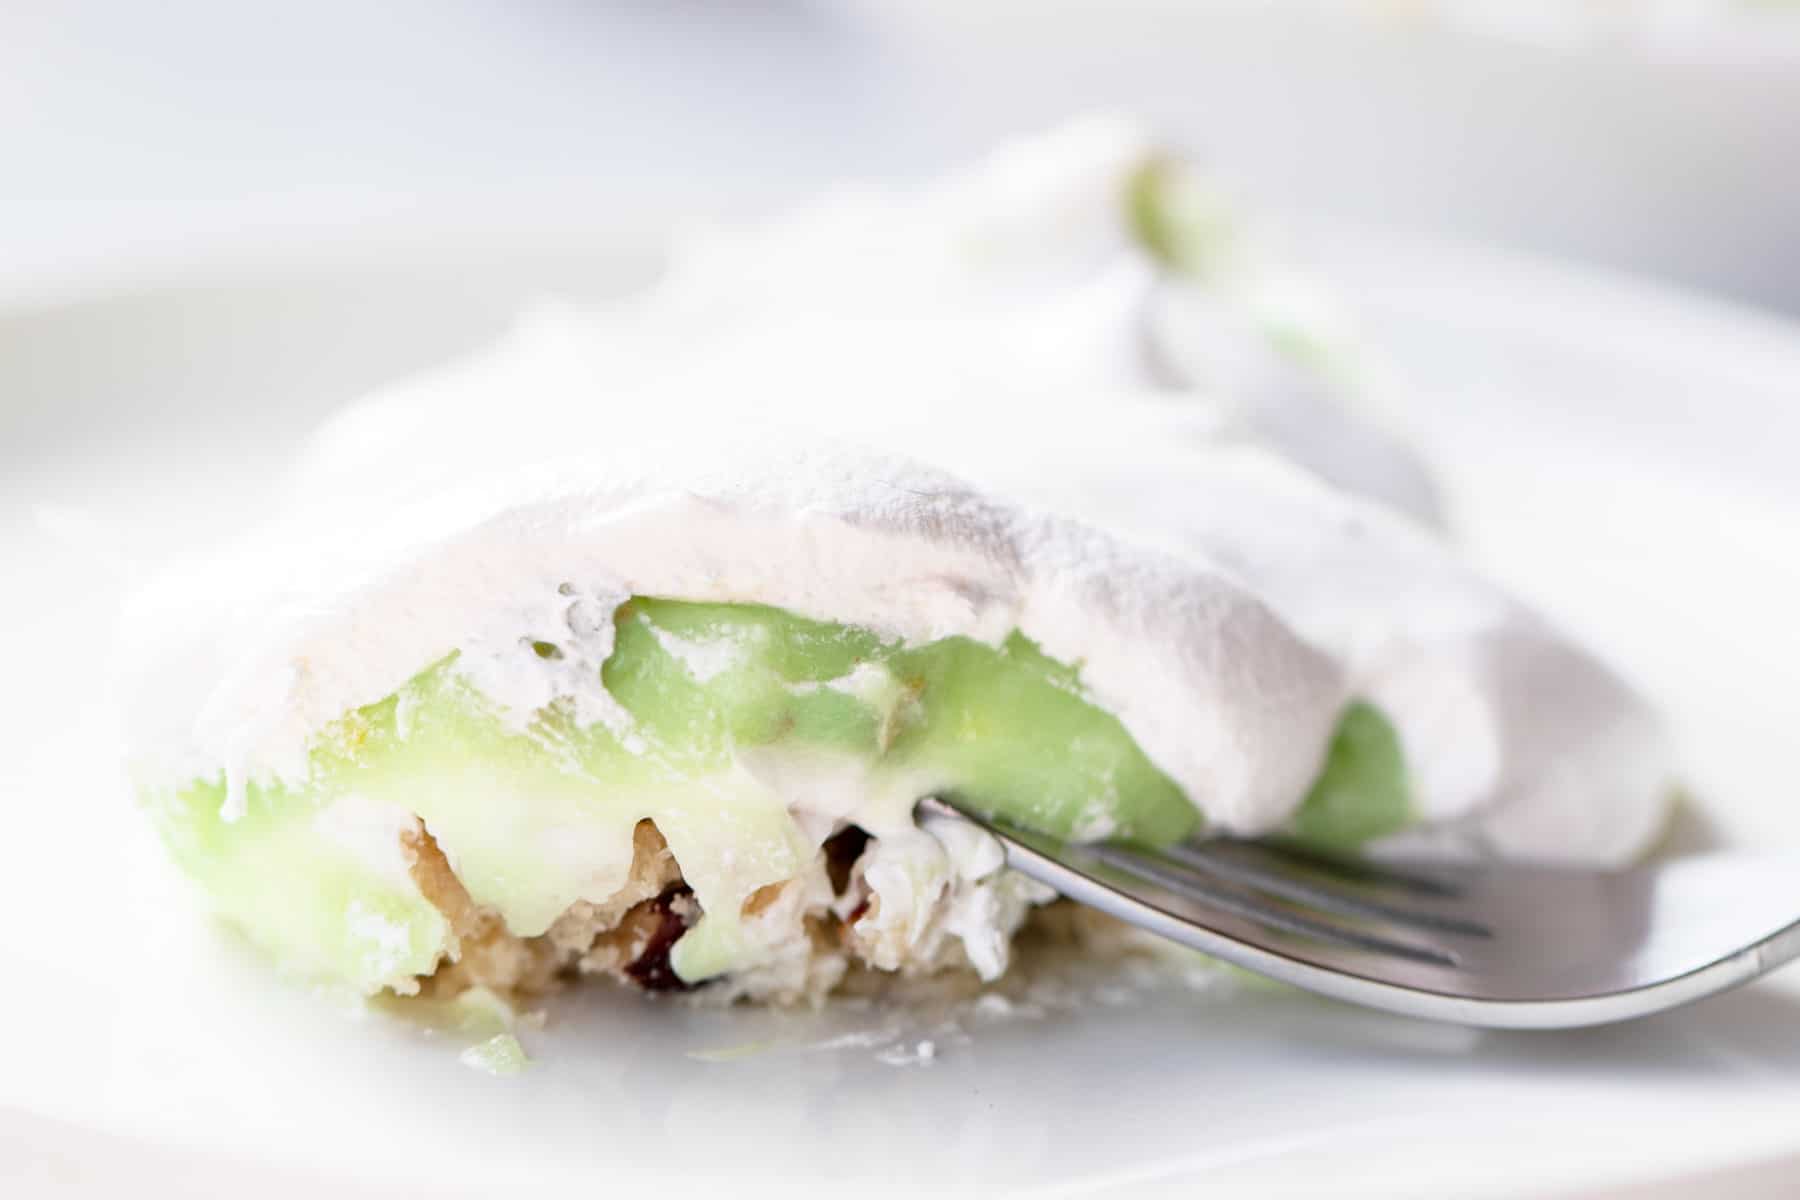
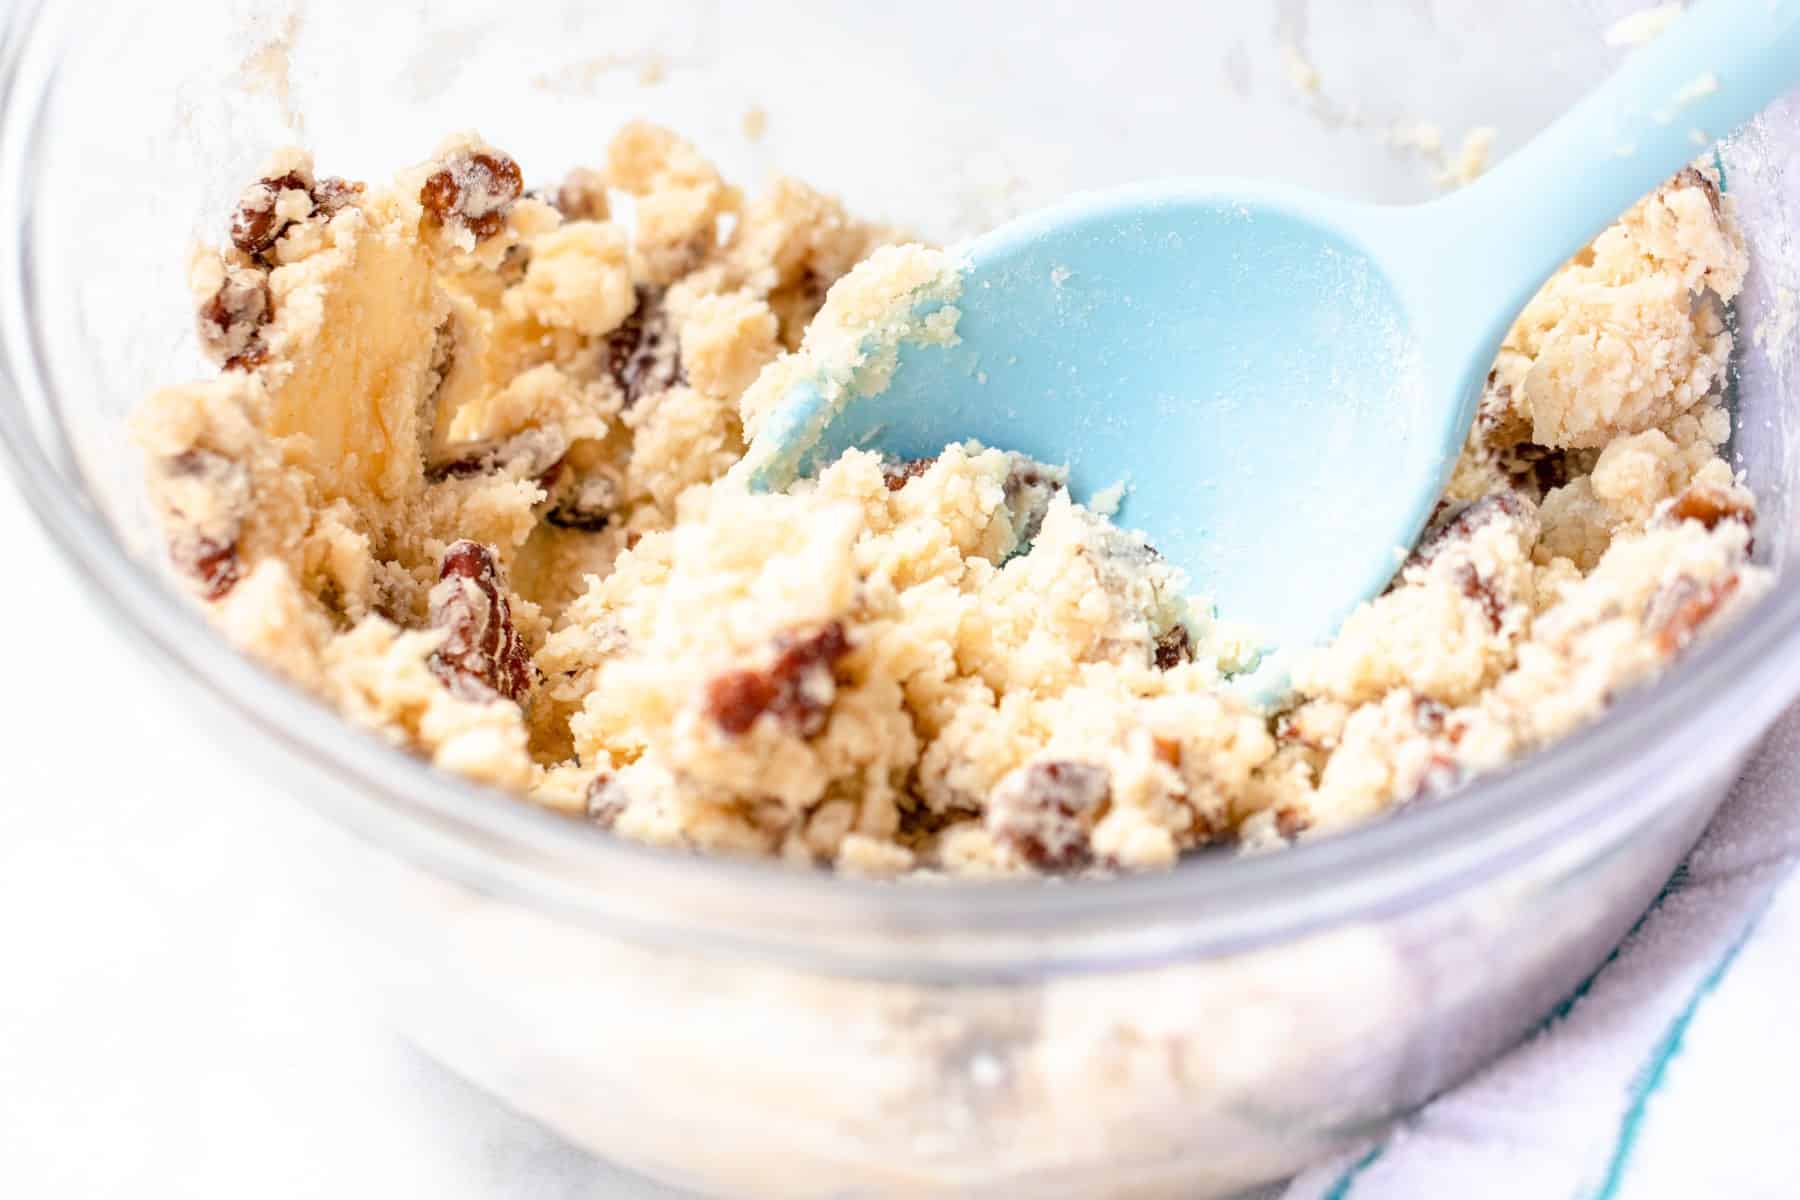
The crust of these bars is the best part. So crunchy and yummy. I could eat it all day.
- 2 Small Packages of Pistachio Pudding (Made according to package directions, you will need milk for this.)
- 1 large container of Cool Whip
- 2 tbs cream cheese softened
- 1 stick butter softened
- 1 cup sugar
- 1 cup flour
- 1/2 cup chopped pecans
Instructions
- Preheat oven to 350 degrees. Lightly grease your casserole dish.
- Stir Flour, butter, and chopped pecans together until combined.
- Press butter mixture into the bottom of a medium sized casserole dish.
- Bake at 350 degrees for 10 minutes. Then allow to cool completely.
- Mix 2 cups of Cool Whip with the cream cheese and 1/2 cup of sugar.
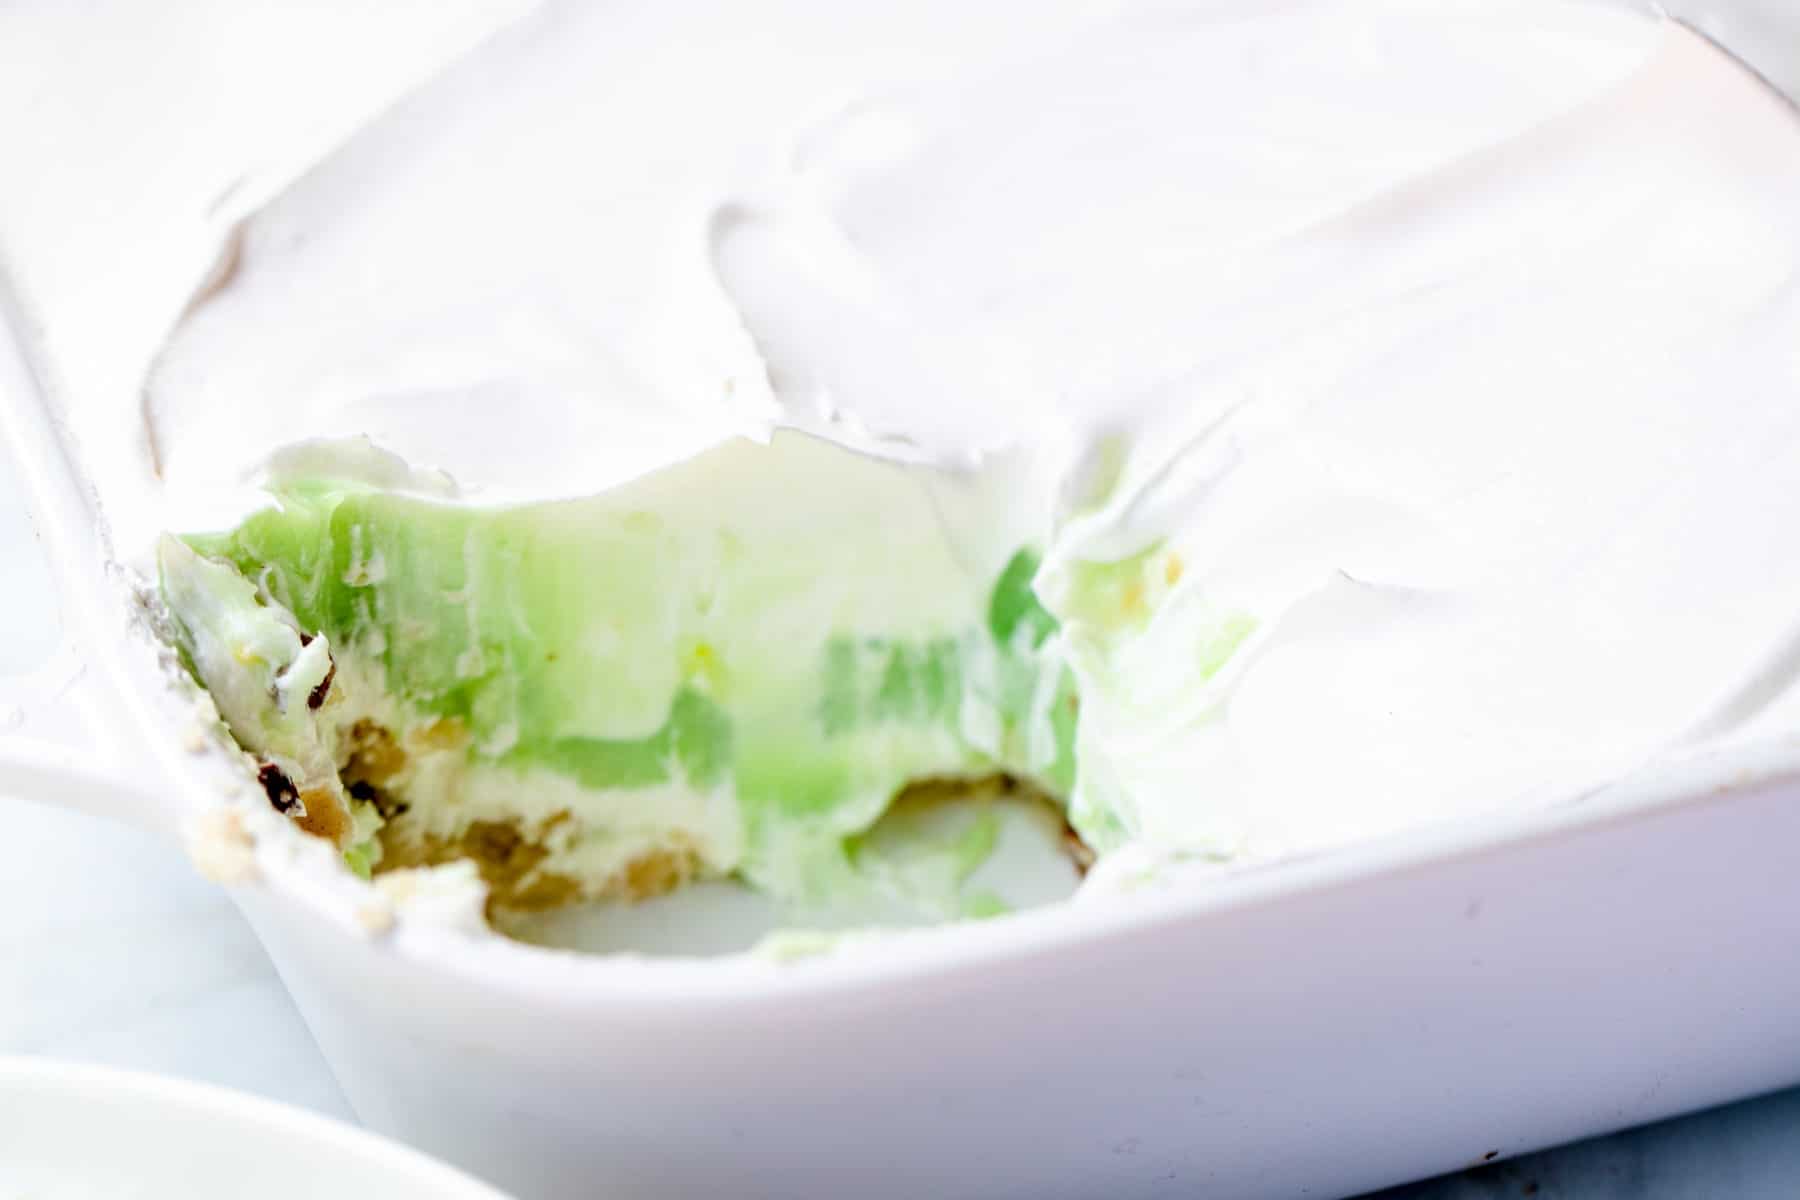
- Layer your cream cheese mixture on top of crust in your casserole dish, spreading evenly.
- Layer your prepared pudding on top of the cream cheese mixture.
- Top with remaining Cool Whip!
- Serve immediately or chill until ready to serve.
Check out these layered desserts!
Strawberry Trifle
Peanut Butter Trifle
Chocolate Trifle

Pistachio Dream Bars - Easy Whipped Cream Dessert
Delicious layered dessert with pistachio, Cool Whip, cream cheese, and a yummy crust. Your family will love this pistachio dream dessert!
Ingredients
- 2 Small Packages of Pistachio Pudding (Made according to package directions, you will need milk for this.)
- 1 large container of Cool Whip
- 2 tbs cream cheese softened
- 1 stick butter softened
- 1 cup sugar
- 1 cup flour
- 1/2 cup chopped pecans
Instructions
- Preheat oven to 350 degrees. Lightly grease your casserole dish.
- Stir Flour, butter, and chopped pecans together until combined.
- Press butter mixture into the bottom of a medium sized casserole dish.
- Bake at 350 degrees for 10 minutes. Then allow to cool completely.
- Mix 2 cups of Cool Whip with the cream cheese and 1/2 cup of sugar.
- Layer your cream cheese mixture on top of crust in your casserole dish, spreading evenly.
- Layer your prepared pudding on top of the cream cheese mixture.
- Top with remaining Cool Whip!
- Serve immediately or chill until ready to serve.


Leave a Reply